You might have come across amigurumi or spotted those irresistibly cute crocheted stuffed toys without knowing their name or backstory. Originating from Japan, the term “amigurumi” literally translates to a crocheted stuffed toy, perfectly encapsulating the essence of this crafting technique. In the world of amigurumi, crafters bring adorable characters to life through the art of crochet, creating a delightful array of soft and huggable creatures.
Table of Contents
- What Is Amigurumi?
- All About Amigurumi
- Can beginners do amigurumi?
- Common Stitches and Techniques for Amigurumi
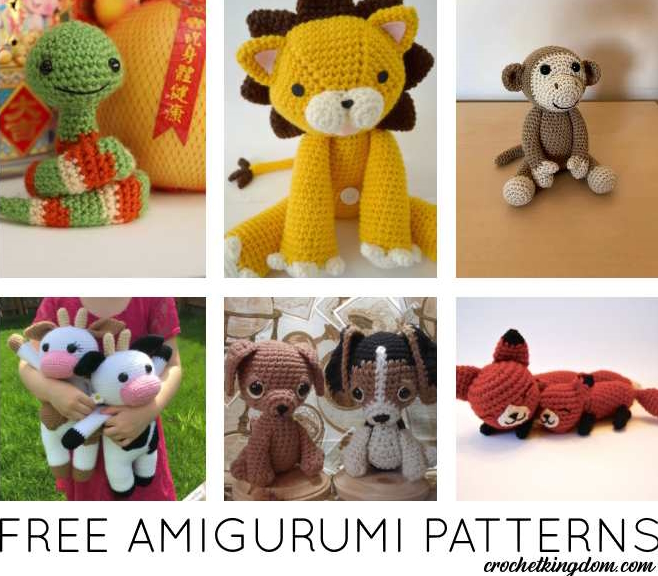
- Free Amigurumi Patterns
- See More Crochet Animal Patterns
- All Free Crochet Amigurumi Patterns
- Frequently Asked Questions About Amigurumi
What Is Amigurumi?
Amigurumi is a Japanese crafting technique focused on crocheting small stuffed toys, ranging from animals and play food to dolls. The term itself combines “ami,” meaning crocheted or knitted, and “nuigurumi,” which translates to stuffed doll. Through amigurumi, crafters skillfully create charming and often whimsical characters using crochet techniques.
All About Amigurumi
Amigurumi, initially thought of as a Japanese craft, may have originated in China during an early ruling dynasty, with records of small crocheted toys. It reached Japan in the early 17th century through Dutch trade, initially influencing knitting techniques. Over time, it evolved, becoming popular among samurai for clothing and embellishments. Western influences in the 20th century led to the emergence of the first amigurumi patterns. From the 1970s, amigurumi gained prominence in the kawaii culture, centered around cuteness. Today, it continues to flourish, with handmade toys widely available, and enthusiasts taking on the craft globally.
Can beginners do amigurumi?
Certainly! Amigurumi is an excellent project for crochet beginners. Most beginner-level amigurumi patterns require a grasp of simple crochet stitches such as single crochet, increases, and decreases. Additionally, learning how to sew pieces together and embroider facial features is essential for bringing your amigurumi creations to life.
How do you crochet amigurumi for beginners?
Crocheting amigurumi can be a fun and rewarding craft for beginners. Here’s a simplified guide to help you get started:
- Gather Materials:
- Choose a smooth, medium-weight yarn in your desired colors.
- Select an appropriate crochet hook size recommended for your chosen yarn.
- Learn Basic Crochet Stitches:
- Familiarize yourself with essential stitches: chain (ch), single crochet (sc), and slip stitch (sl st).
- Practice with a Small Project:
- Begin with a simple amigurumi pattern, like a basic ball or cube, to practice shaping.
- Start with a Magic Ring:
- Many amigurumi patterns begin with a magic ring for a seamless and tight center.
- Follow a Beginner-Friendly Pattern:
- Choose a pattern designed for beginners, with clear instructions and minimal shaping.
- Understand Stitch Markers:
- Use stitch markers to keep track of rounds and important points in your pattern.
- Stuffing Techniques:
- Learn how to evenly stuff your amigurumi to achieve a nice, rounded shape.
- Assemble Carefully:
- Follow assembly instructions closely, securing pieces firmly for a polished finish.
- Experiment with Colors:
- Have fun experimenting with different colors to personalize your amigurumi.
Common Stitches and Techniques for Amigurumi
In almost every amigurumi pattern, certain stitches and techniques are indispensable. These key ones include:
- Single Crochet: A staple stitch used extensively to maintain a tight fabric, preventing stuffing from peeking out of your cuddly creation.
- Increases and Decreases: Understanding how to perform sc (single crochet) increases and decreases is crucial. These techniques help shape curves and add dimension to your amigurumi projects.
- Crocheting in Spiral Rounds: Most amigurumi is crafted using spiral rounds, crocheting continuously in a circular manner. It’s essential to use stitch markers to keep track of your rounds while creating your adorable critters.
Free Amigurumi Patterns
Amigurumi Bear
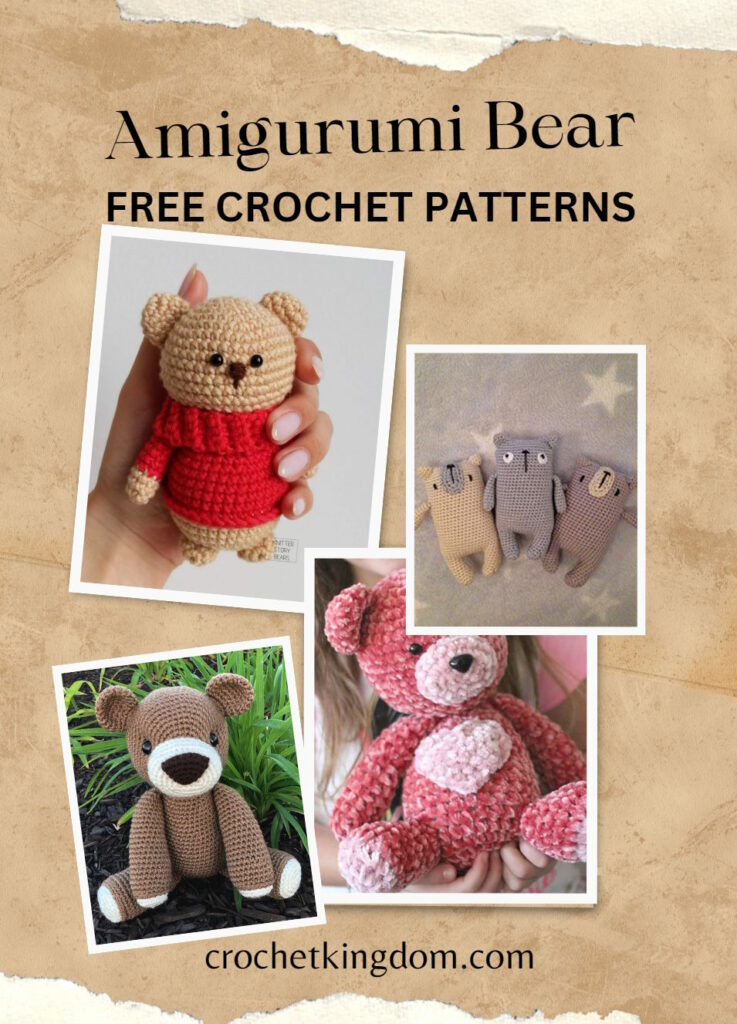
Discover these delightful amigurumi crochet bear pattern ideas! Whether you’re on the hunt for a timeless gift for your kiddo or a friend’s little one, we’ve got you covered. Crochet bears are cherished by children for their soft and huggable nature, providing a comforting companion.
Amigurumi Birds
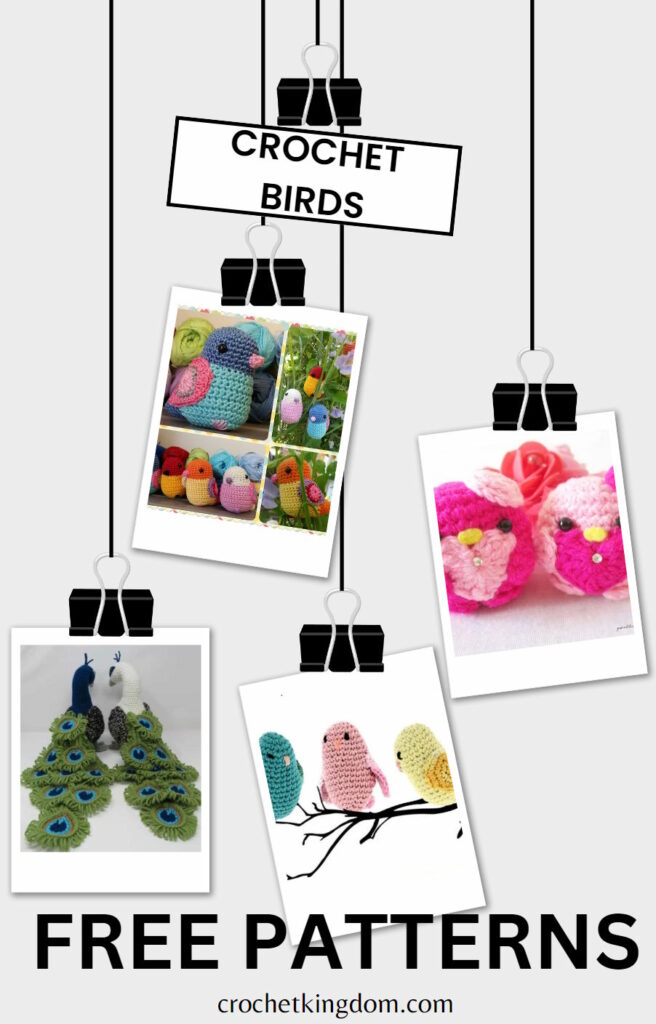
Ready to jump into the world of crochet bird amigurumi patterns? It’s a blast for everyone, whether you’re a crochet expert or just getting started. We’ve got a bunch of free patterns, realistic bird designs, and easy projects to match any crafting style. Let’s get those creative wings flapping!
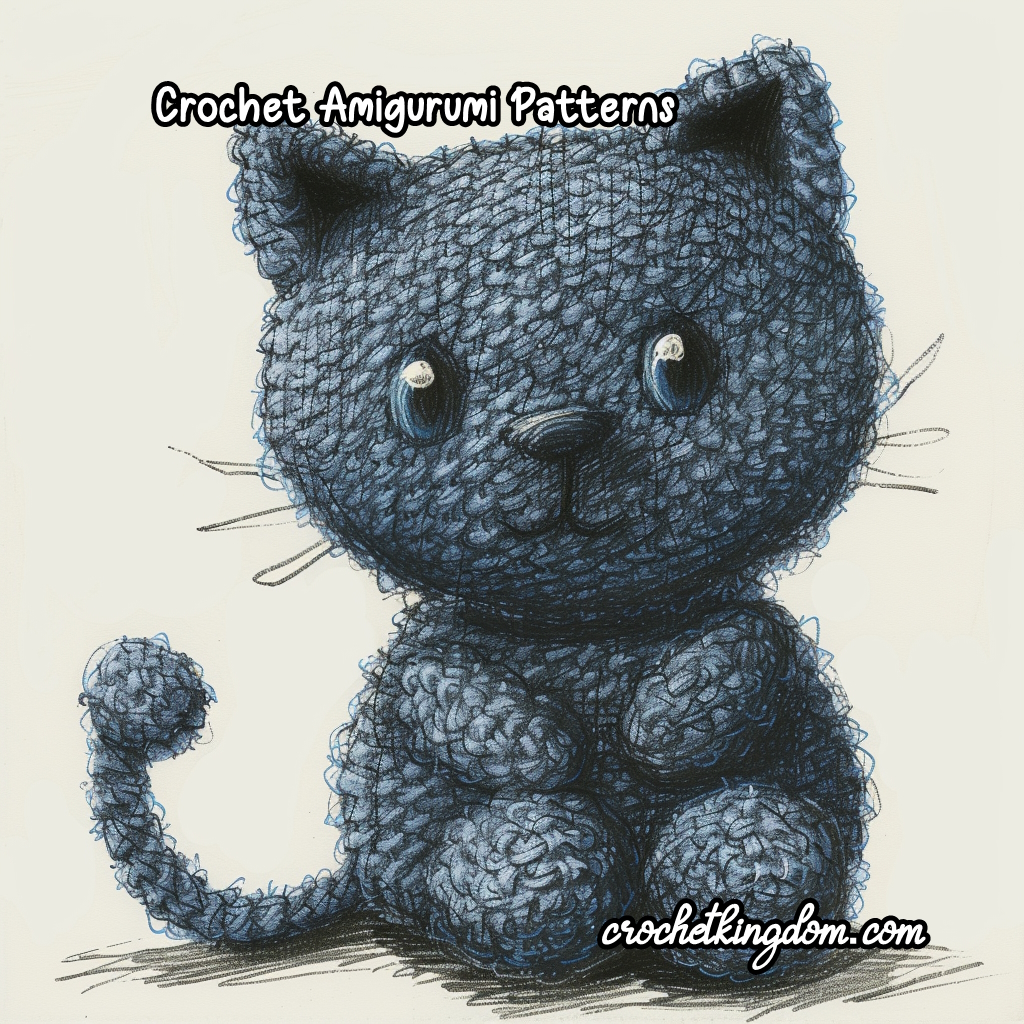
Crochet Cat Patterns Free
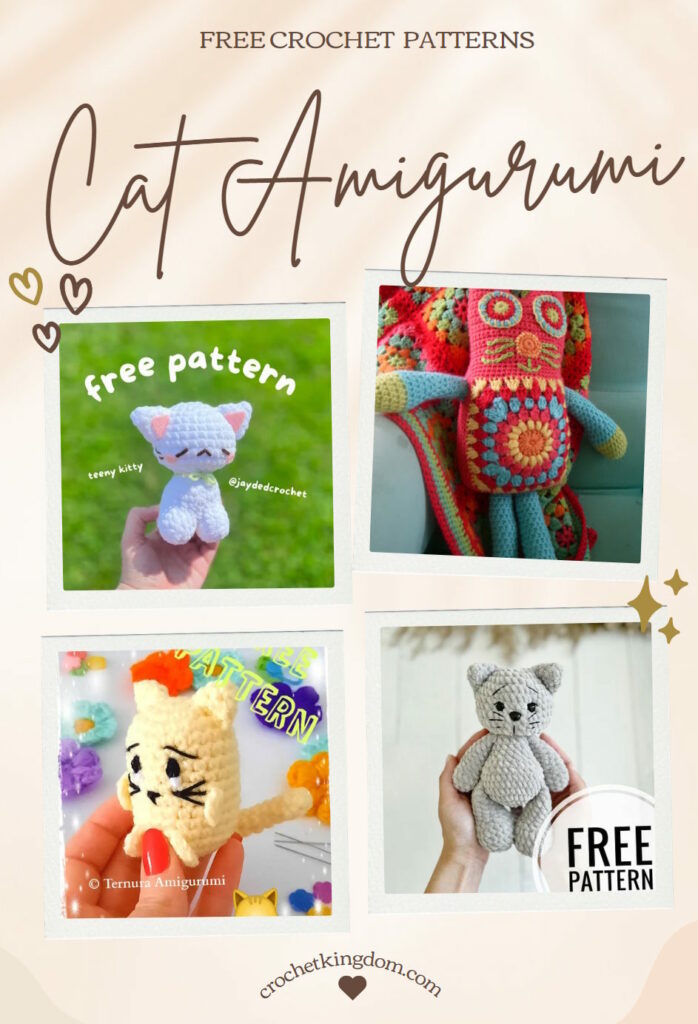
Discover irresistible free crochet cat amigurumi patterns that will capture your heart! Join the conversation as we delve into the delight of crafting adorable crochet cat amigurumi with fantastic patterns at no cost. Whether you’re a cat enthusiast or simply seeking a charming and snug project, we’ve got you covered.
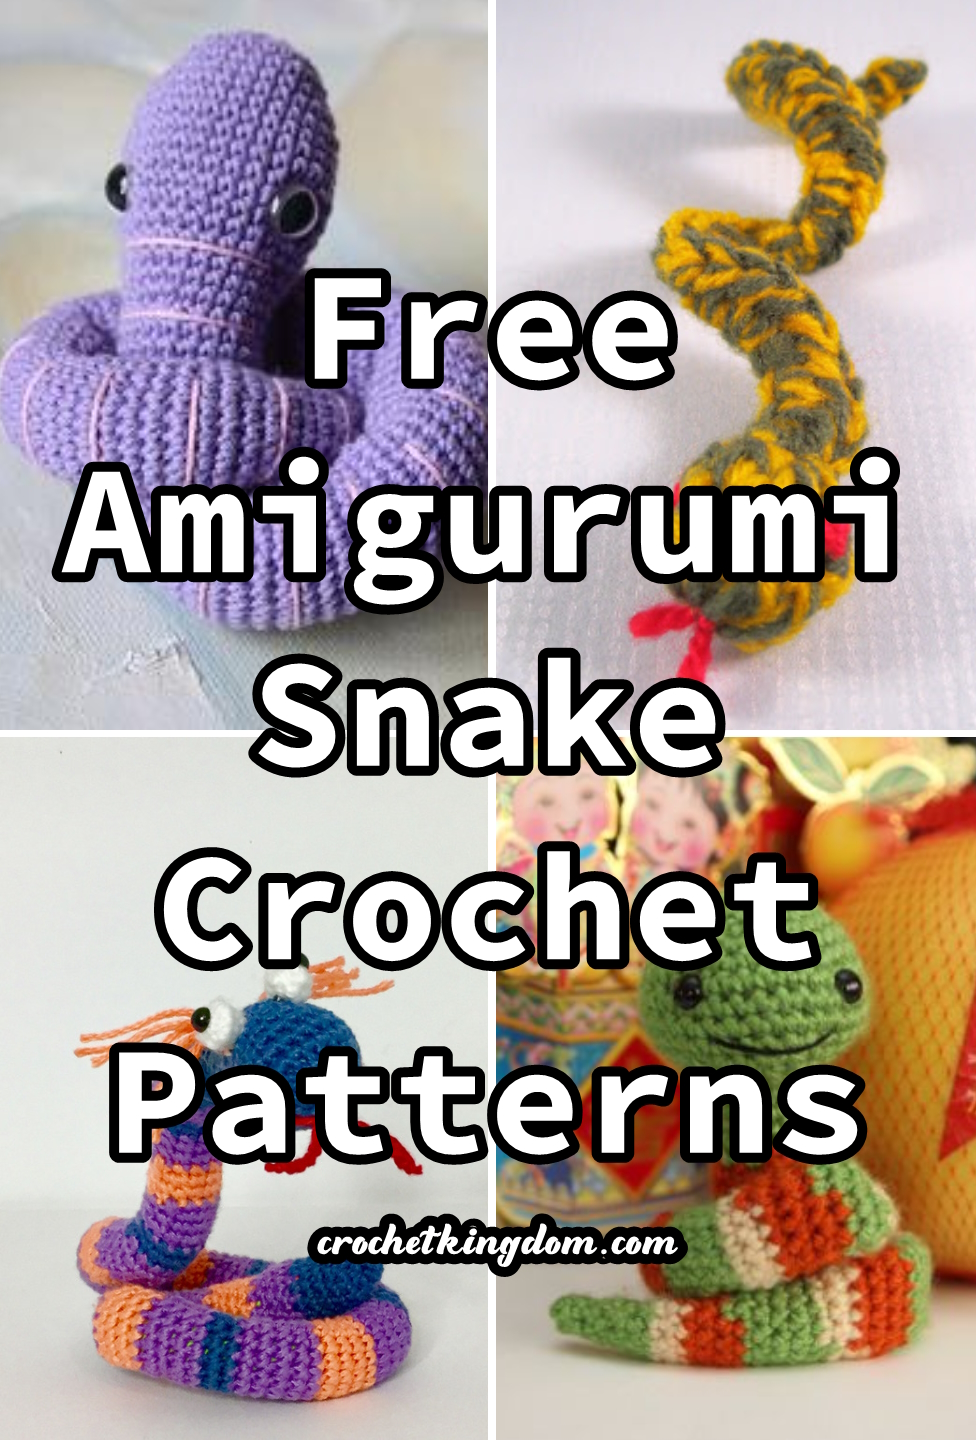
Free Amigurumi Snake Patterns
Free Snake Crochet Patterns – Free crochet patterns amigurumi snake, snake plushies that won’t slither away. Free snake crochet patterns.
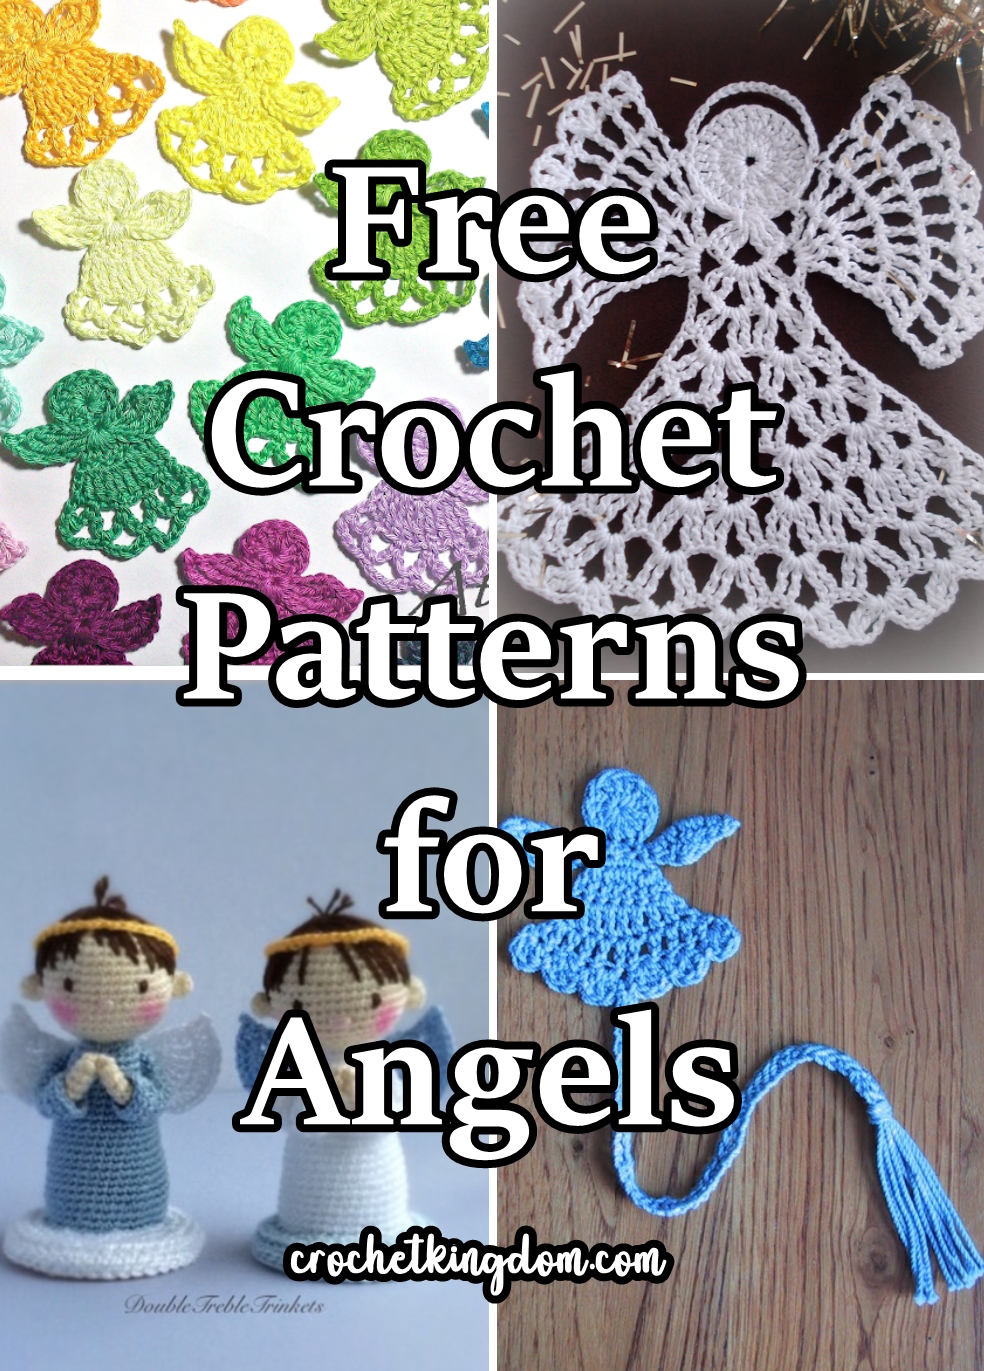
Angel Amigurumi Crochet Patterns
Unique curated collection of free crochet patterns for angels. Whether you’re a seasoned crafter or a novice with a passion for heavenly creations, these patterns are your gateway to crafting ethereal crochet angels that will add a touch of serenity to any space. Free crochet angel patterns.
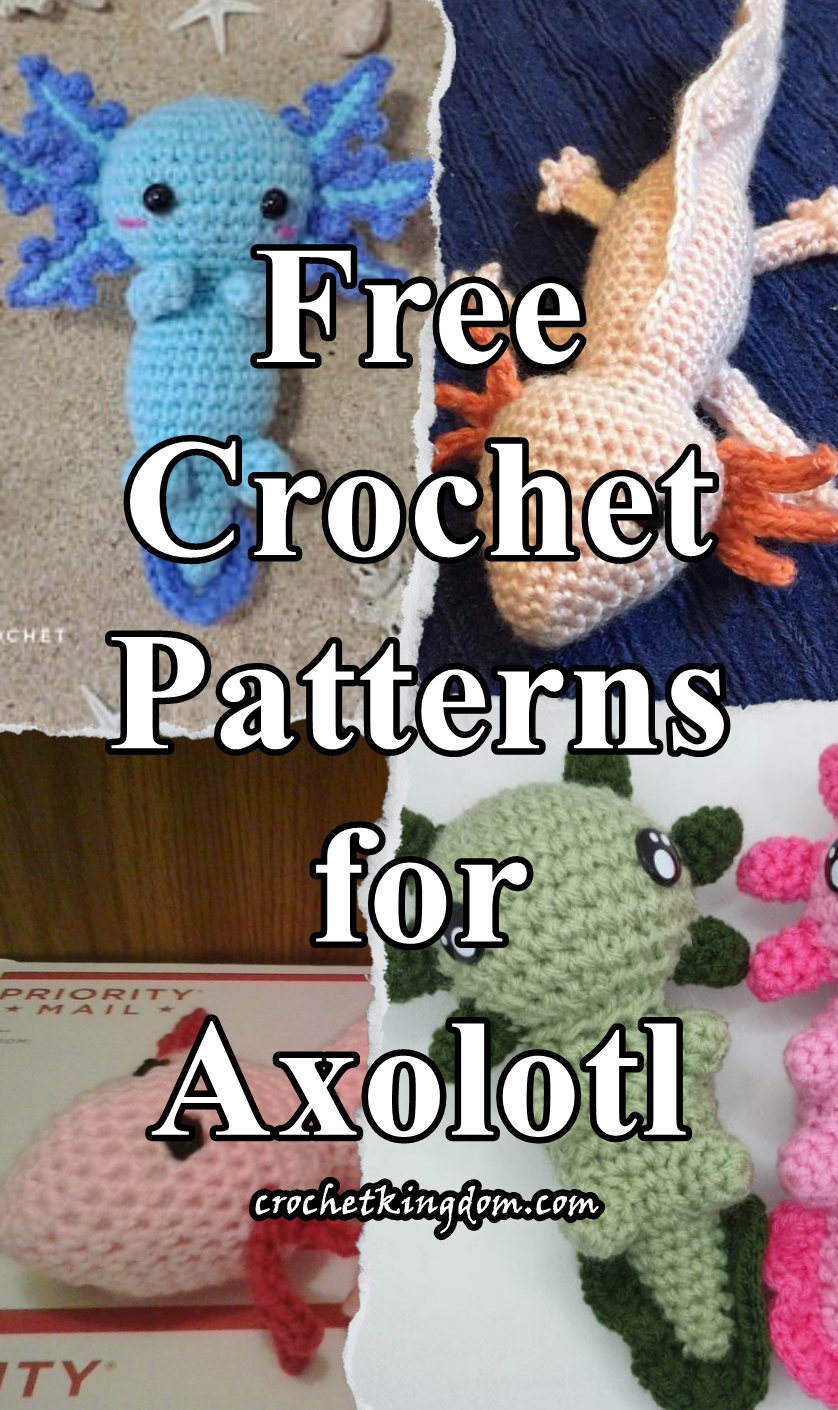
Free Crochet Patterns for Axolotl
Free crochet patterns for axolotl. Because who can resist crocheting such a cute little critter. For those who are simply captivated by the charm of these endearing little creatures, I’ve curated a selection of the most adorable amigurumi axolotl crochet patterns for you to craft your own aquatic companion. Free axolotl crochet patterns.
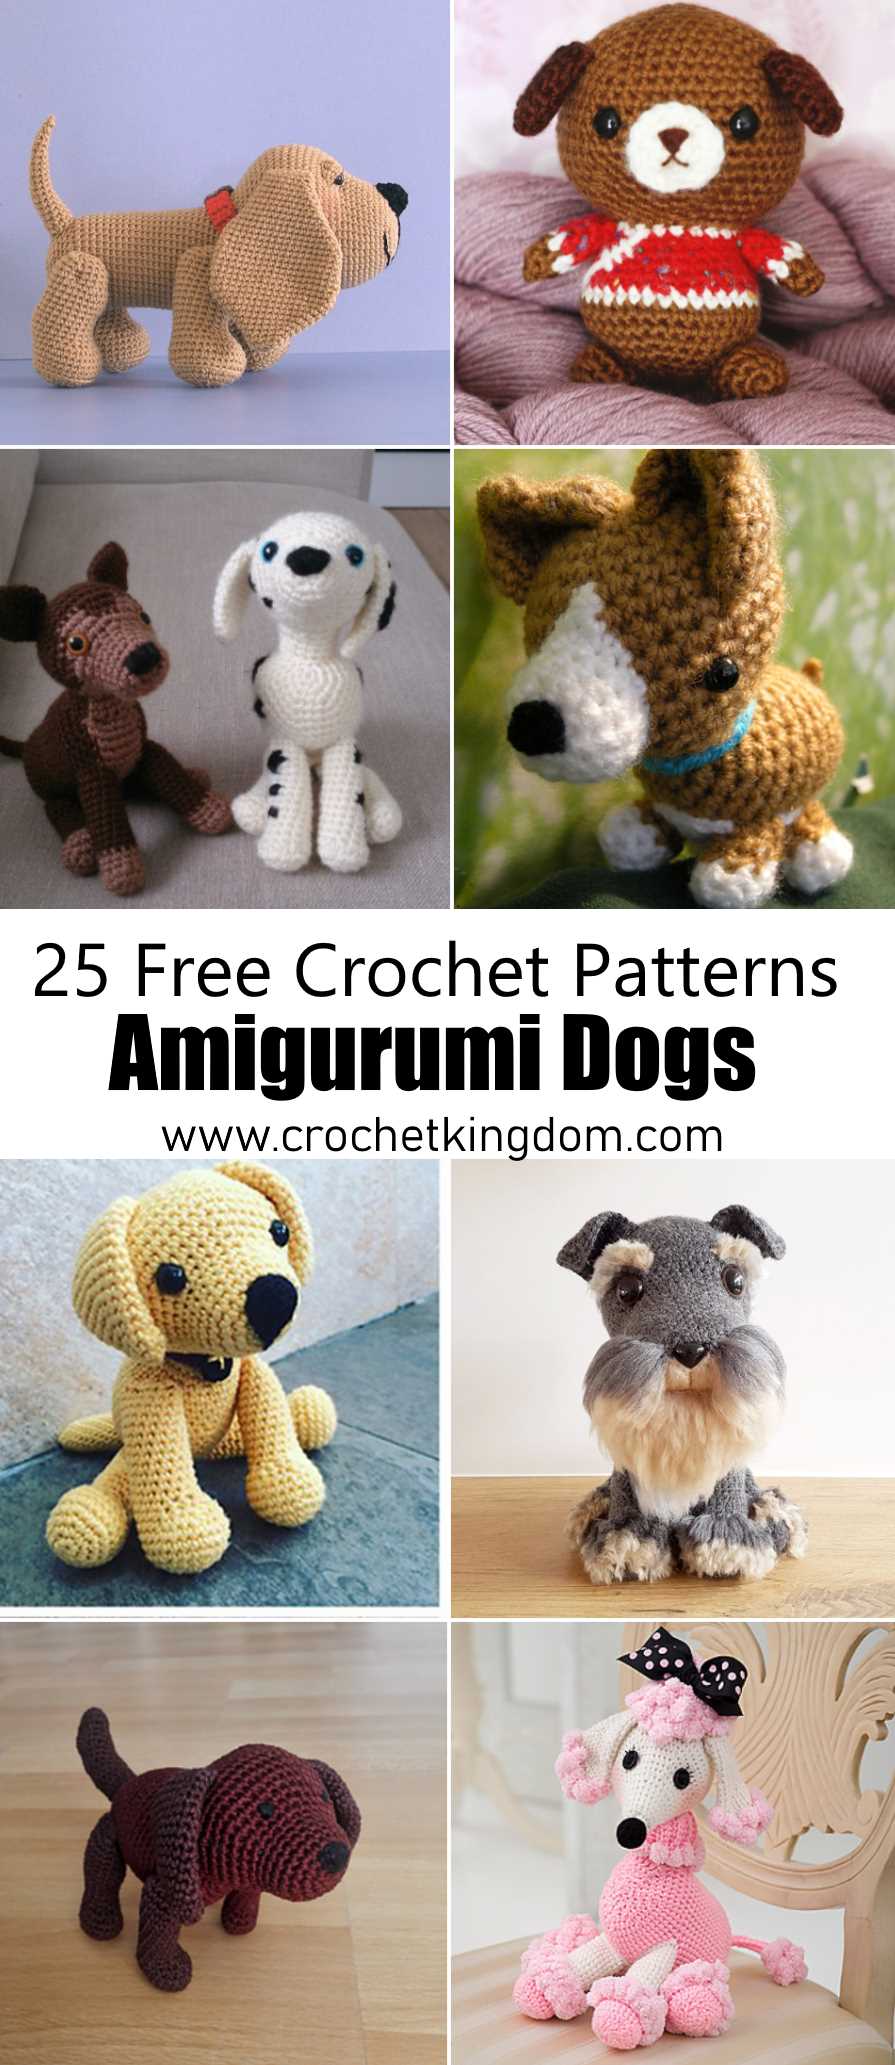
Free Dog Crochet Patterns
Crocheting dogs is a wonderfully enjoyable hobby and craft. With free patterns readily available online, it’s easy to get started making your own amigurumi canine creations. Crocheted dogs make great gifts, decorations, and nostalgic toys. See these patterns: Free Dog Crochet Patterns.
See More Crochet Animal Patterns
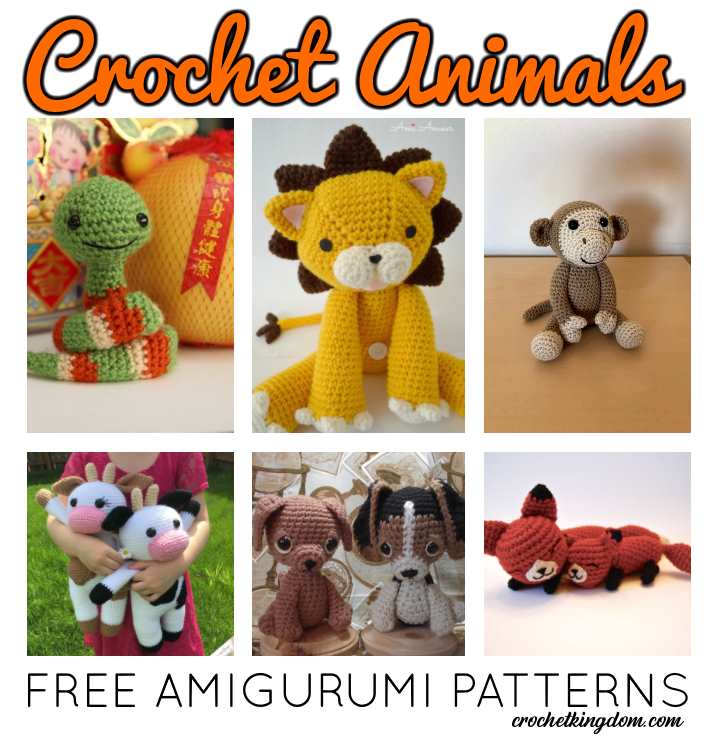
Crochet patterns animals. Adorable crochet pattern, all FREE for animal amigurumi, plushies and soft toys.
All Free Crochet Amigurumi Patterns
Discover the joy of crocheting adorable stuffed animals with our extensive library of over 5000 free amigurumi patterns. We cater to a diverse range of tastes, offering both animal and non-animal designs. Whether you’re a crochet novice or an experienced enthusiast, our collection boasts a broad spectrum of patterns to suit your skill level.
Explore our array of patterns to find the perfect one for your next project. Whether you seek a simple weekend crochet or a more intricate design for a heartfelt homemade gift, we’ve got you covered. Select your ideal pattern today and embark on a delightful crocheting journey!
All our Free Amigurumi Patterns on Offer are here.
Frequently Asked Questions About Amigurumi
Welcome to our Frequently Asked Questions about Amigurumi—a handy guide to unravel any queries and make your crafting journey a breeze.
How to Design Crochet Amigurumi Patterns
Here are the basic steps for creating your own amigurumi pattern:
- Inspiration and Conceptualization:
- Begin by deciding on the type of amigurumi you want to create.
- Gather inspiration from various sources, such as animals, characters, or objects.
- Sketching and Design:
- Create a rough sketch of your amigurumi, outlining its shape, features, and any specific details.
- Refine the design until you’re satisfied with the overall look.
- Material and Color Selection:
- Choose the type of yarn and appropriate hook size based on your design.
- Select colors that complement your vision, considering both the main body and any additional details.
- Pattern Structure:
- Break down your design into simple shapes and components.
- Plan the order in which you will crochet these elements to assemble the amigurumi.
- Crochet Stitch Selection:
- Determine the crochet stitches you’ll use for each part of the amigurumi.
- Consider the texture and appearance you want to achieve with different stitches.
- Creating the Base:
- Start crocheting the main body or base of your amigurumi using the chosen stitches.
- Follow your design and adjust the size as needed.
- Adding Details:
- Crochet individual components, such as limbs, facial features, or accessories.
- Attach these details to the base using a yarn needle, ensuring proper placement.
- Testing and Adjusting:
- Assemble your amigurumi and assess the overall look.
- Make any necessary adjustments to achieve the desired proportions and aesthetics.
- Documentation:
- Document your pattern, detailing the steps, stitch counts, and any specific techniques used.
- Include clear instructions for assembling the different parts.
- Sharing Your Pattern:
- If you wish, share your amigurumi pattern with the crafting community.
- Consider posting it on social media and submitting your pattern to sites like ours.
How to Make a Crochet Amigurumi Pattern Bigger?
Whether you’re upsizing or downsizing your amigurumi design, here’s a quick guide. For a larger amigurumi, opt for heavier yarn, use multiple strands, and switch to a bigger hook. Conversely, for a smaller version, go for lighter yarn and a smaller hook. Always choose a hook size that ensures a firm fabric without noticeable gaps between stitches, a standard practice for amigurumi. And don’t overlook the eyes – adjust their size proportionately to maintain the perfect balance with the overall size of your delightful amigurumi creation.
With these adjustments, you can successfully create a larger version of your favorite crochet amigurumi pattern.
- Select Larger Yarn and Hook:
- Choose a larger yarn weight and an appropriate hook size to achieve the desired size.
- Adjust Starting Rounds:
- Increase the starting rounds to accommodate the larger size.
- Maintain Proportions:
- Ensure the proportions of limbs and features match the enlarged design.
- Extend Rounds and Rows:
- Add more rounds or rows to each section, following the established stitch pattern.
- Trial and Error:
- Periodically assemble parts to assess size and proportions, making adjustments as needed.
- Document Changes:
- Keep notes on modifications made, including stitch counts and adjustments.
- Finalize and Assemble:
- Complete all components and assemble the larger amigurumi according to the original pattern.
How do you make amigurumi look professional?
Following are a few tips and tricks that can make your amigurumi look pro!
- Consistent Tension:
- Maintain even tension throughout to ensure a polished appearance.
- Secure Stitching:
- Securely fasten stitches and weave in ends neatly for a clean finish.
- Precision in Details:
- Pay attention to details like facial features, ensuring symmetry and alignment.
- Proper Stuffing:
- Stuff amigurumi evenly and firmly for a well-defined shape.
- Choose Quality Materials:
- Use high-quality yarn and materials for a professional look and feel.
- Blocking and Shaping:
- Block or shape components as needed to achieve a refined final form.
- Skillful Assembly:
- Assemble parts carefully, ensuring proper alignment and symmetry.
- Personal Touch:
- Add personal touches like embroidery or accessories for uniqueness.
What is the difference between crochet and amigurumi?
Crochet is a versatile craft that involves creating fabric using yarn and a hooked needle. On the other hand, amigurumi is a specialized form of crochet originating from Japan, where artisans craft small, stuffed animals or characters. While crochet encompasses a wide range of projects, amigurumi specifically focuses on creating cute and often whimsical 3D figures through the use of crochet techniques. Essentially, amigurumi is a delightful subset within the broader world of crochet, offering a unique and charming way to bring crocheted characters to life.
Why is my amigurumi pointy?
When dealing with a too-pointy top, consider a few factors.
Check your slip knot technique; using a standard one may create a hole that causes the center to puff up. Opt for a sloppy slip knot (or magic ring) for a smoother center. Pull tightly for best results.
Ensure consistent gauge. If you’re a beginner, your gauge may change as you gain experience. If you start loosely and tighten up later, the initial rounds may puff out, resulting in a pointy top. Begin again, maintaining a consistent gauge from the start.
Remember, not all pointy tops are problematic, especially for animal heads. They often even out after stuffing, so a slightly pointy look initially may perfectly round out in the end.
Why is my amigurumi flat?
If your amigurumi appears flat, check for potential issues such as uneven tension, an incorrect hook size, or inadequate stuffing. Maintaining consistent tension, using the right hook size, and ensuring firm and even stuffing are crucial for achieving the desired three-dimensional form. Additionally, verify that you’re following the pattern accurately, as mistakes in counting stitches or rounds can impact the final shape, Using stitch markers for this would be very useful. Pay attention to yarn weight, gauge, and stitch patterns specified in the pattern, and consider blocking or shaping if needed. By addressing these factors, you can enhance the overall appearance of your amigurumi.
Why does my amigurumi have holes?
Holes in your amigurumi may be a result of several factors. Commonly, using a standard slip knot at the beginning can create a hole, causing the center to puff up. Switching to a sloppy slip knot or a magic ring and pulling tightly can help achieve a smoother center. Inconsistent tension while crocheting or changes in gauge can also lead to holes. Ensure you maintain even tension throughout and follow the recommended gauge for your pattern. Additionally, check for any skipped stitches or unintentional yarn overs, as these can contribute to the formation of holes in your amigurumi.