How to Use Crochet Stitch Markers, an easy to follow guide on using stitch markers for your crochet projects.
Crochet stitch markers prove particularly invaluable in intricate projects where specific stitches require highlighting to guide you through the pattern. They’re not just for the pros; beginners also find them incredibly useful, especially those who are either learning how to crochet or returning to the craft after a hiatus. So, whether you’re a seasoned crocheter or just getting started, these markers are a handy tool to keep within arm’s reach!
Table of Contents:
- What Are Crochet Stitch Markers?
- Why Use Stitch Markers for your Crochet?
- Crochet Stitch Makers We Like
- How to Use Crochet Stitch Markers: A Step-by-Step Guide
What Are Crochet Stitch Markers?
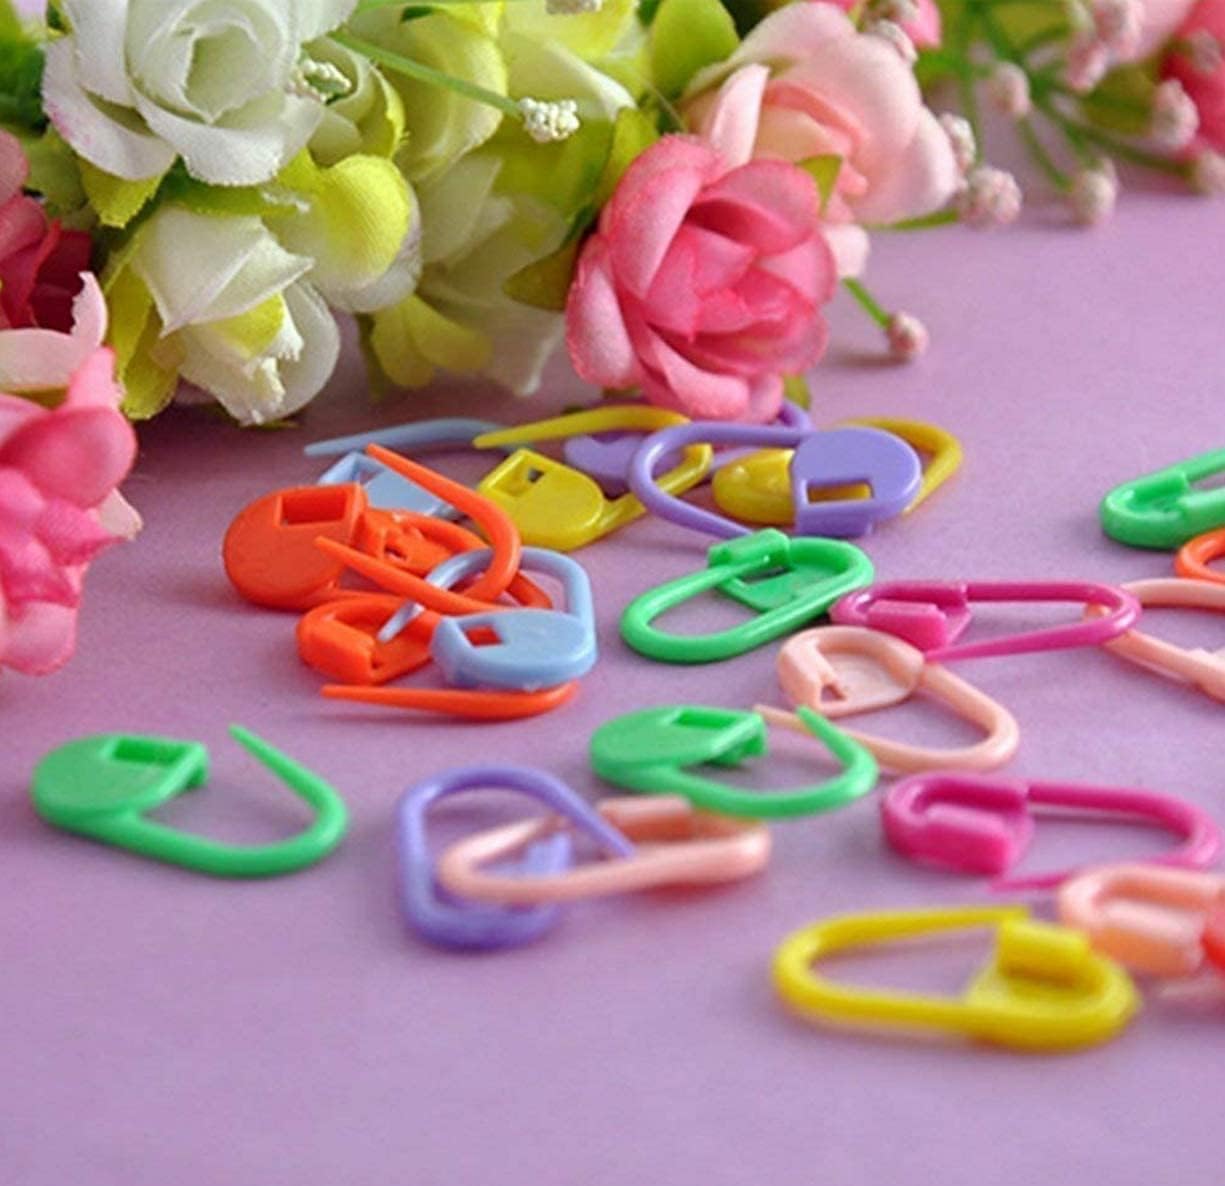
Crochet stitch markers, those little game-changers, come in the form of small plastic clips or metal rings. These nifty tools are skillfully inserted into individual crochet stitches, serving as handy indicators to mark points of significance in your project.
Why Use Stitch Markers for your Crochet?
Crochet stitch markers play a crucial role in highlighting specific stitches that require attention during your crochet project. Whether it’s a prompt to change colors, initiate a new stitch pattern, or keep track of rows and individual stitches, these markers act as handy reminders. Affordable and practical, they can be a game-changer in navigating and streamlining your crochet work. Consider them your trusty sidekick for a smoother and more organized crocheting!
Here are Some Crochet Stitch Makers We Like
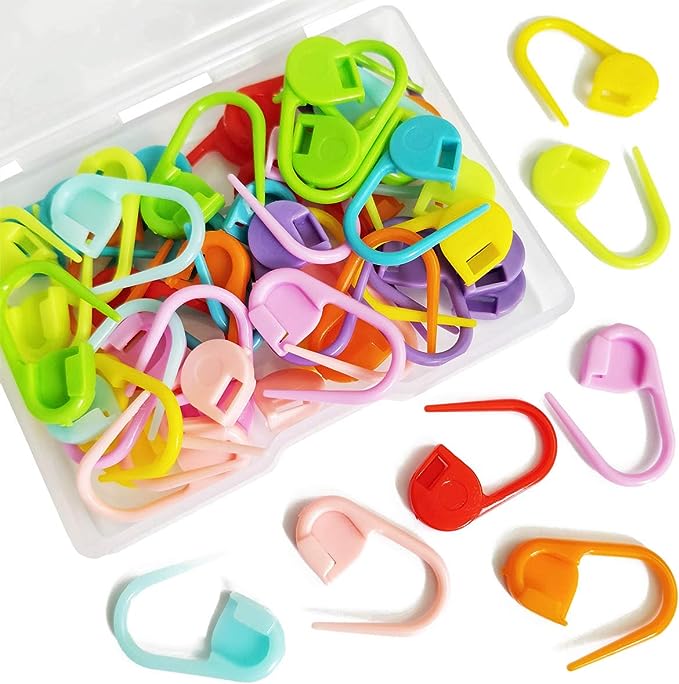
You can easily get your hands on crochet stitch markers either at your local hobby store or through online platforms. They come in various forms, but their primary function remains consistent—to mark your stitches. You’ll encounter options like small metal or plastic rings, as well as larger plastic markers resembling safety pins. While both types serve the same purpose, the latter, with its user-friendly design, is often a preferred choice.
Here are some well priced crochet stitch markers from amazon (affiliate links):
50 Pieces Colorful Knitting Markers Crochet
How to Use Crochet Stitch Markers: A Step-by-Step Guide
1. Decide Where to Put the Stitch Marker Crochet stitch markers prove handy in various situations. Consider using them to:
- Secure your last stitch, preventing unraveling and allowing you to set your project aside without worry.
- Indicate a stitch change, especially when transitioning to a different stitch type.
- Mark a specific row, particularly beneficial when working in the round.
- Count stitches, aiding in larger projects where precise stitch counting is essential.
- Highlight points for increasing or decreasing stitches.
- Signal a color change, helping you remember where to switch hues.
2. Open the Crochet Stitch Marker The most common type of crochet stitch marker resembles a safety pin. To open it, squeeze the two sides together until one side detaches. Now, the stitch marker is ready to be placed in a stitch.
3. Insert the Stitch Marker Into a Stitch With the stitch marker open, thread it through the stitch you want to mark. Ensure it goes through a complete stitch to stay securely in place. Crochet stitch markers can be used with any crochet stitch.
4. Close the Stitch Marker Once threaded through the stitch, squeeze the sides of the crochet stitch marker until it locks securely into place. Your stitch is now marked and ready to be referenced later in your project.
5. Remove the Stitch Marker When you no longer need the stitch marker, carefully open it up and remove it from the stitch. Take care not to pull out any stitches while doing so to ensure a smooth crocheting experience.