Crochet Beanie with Flowers for Girls. Magnolia Crochet Hat
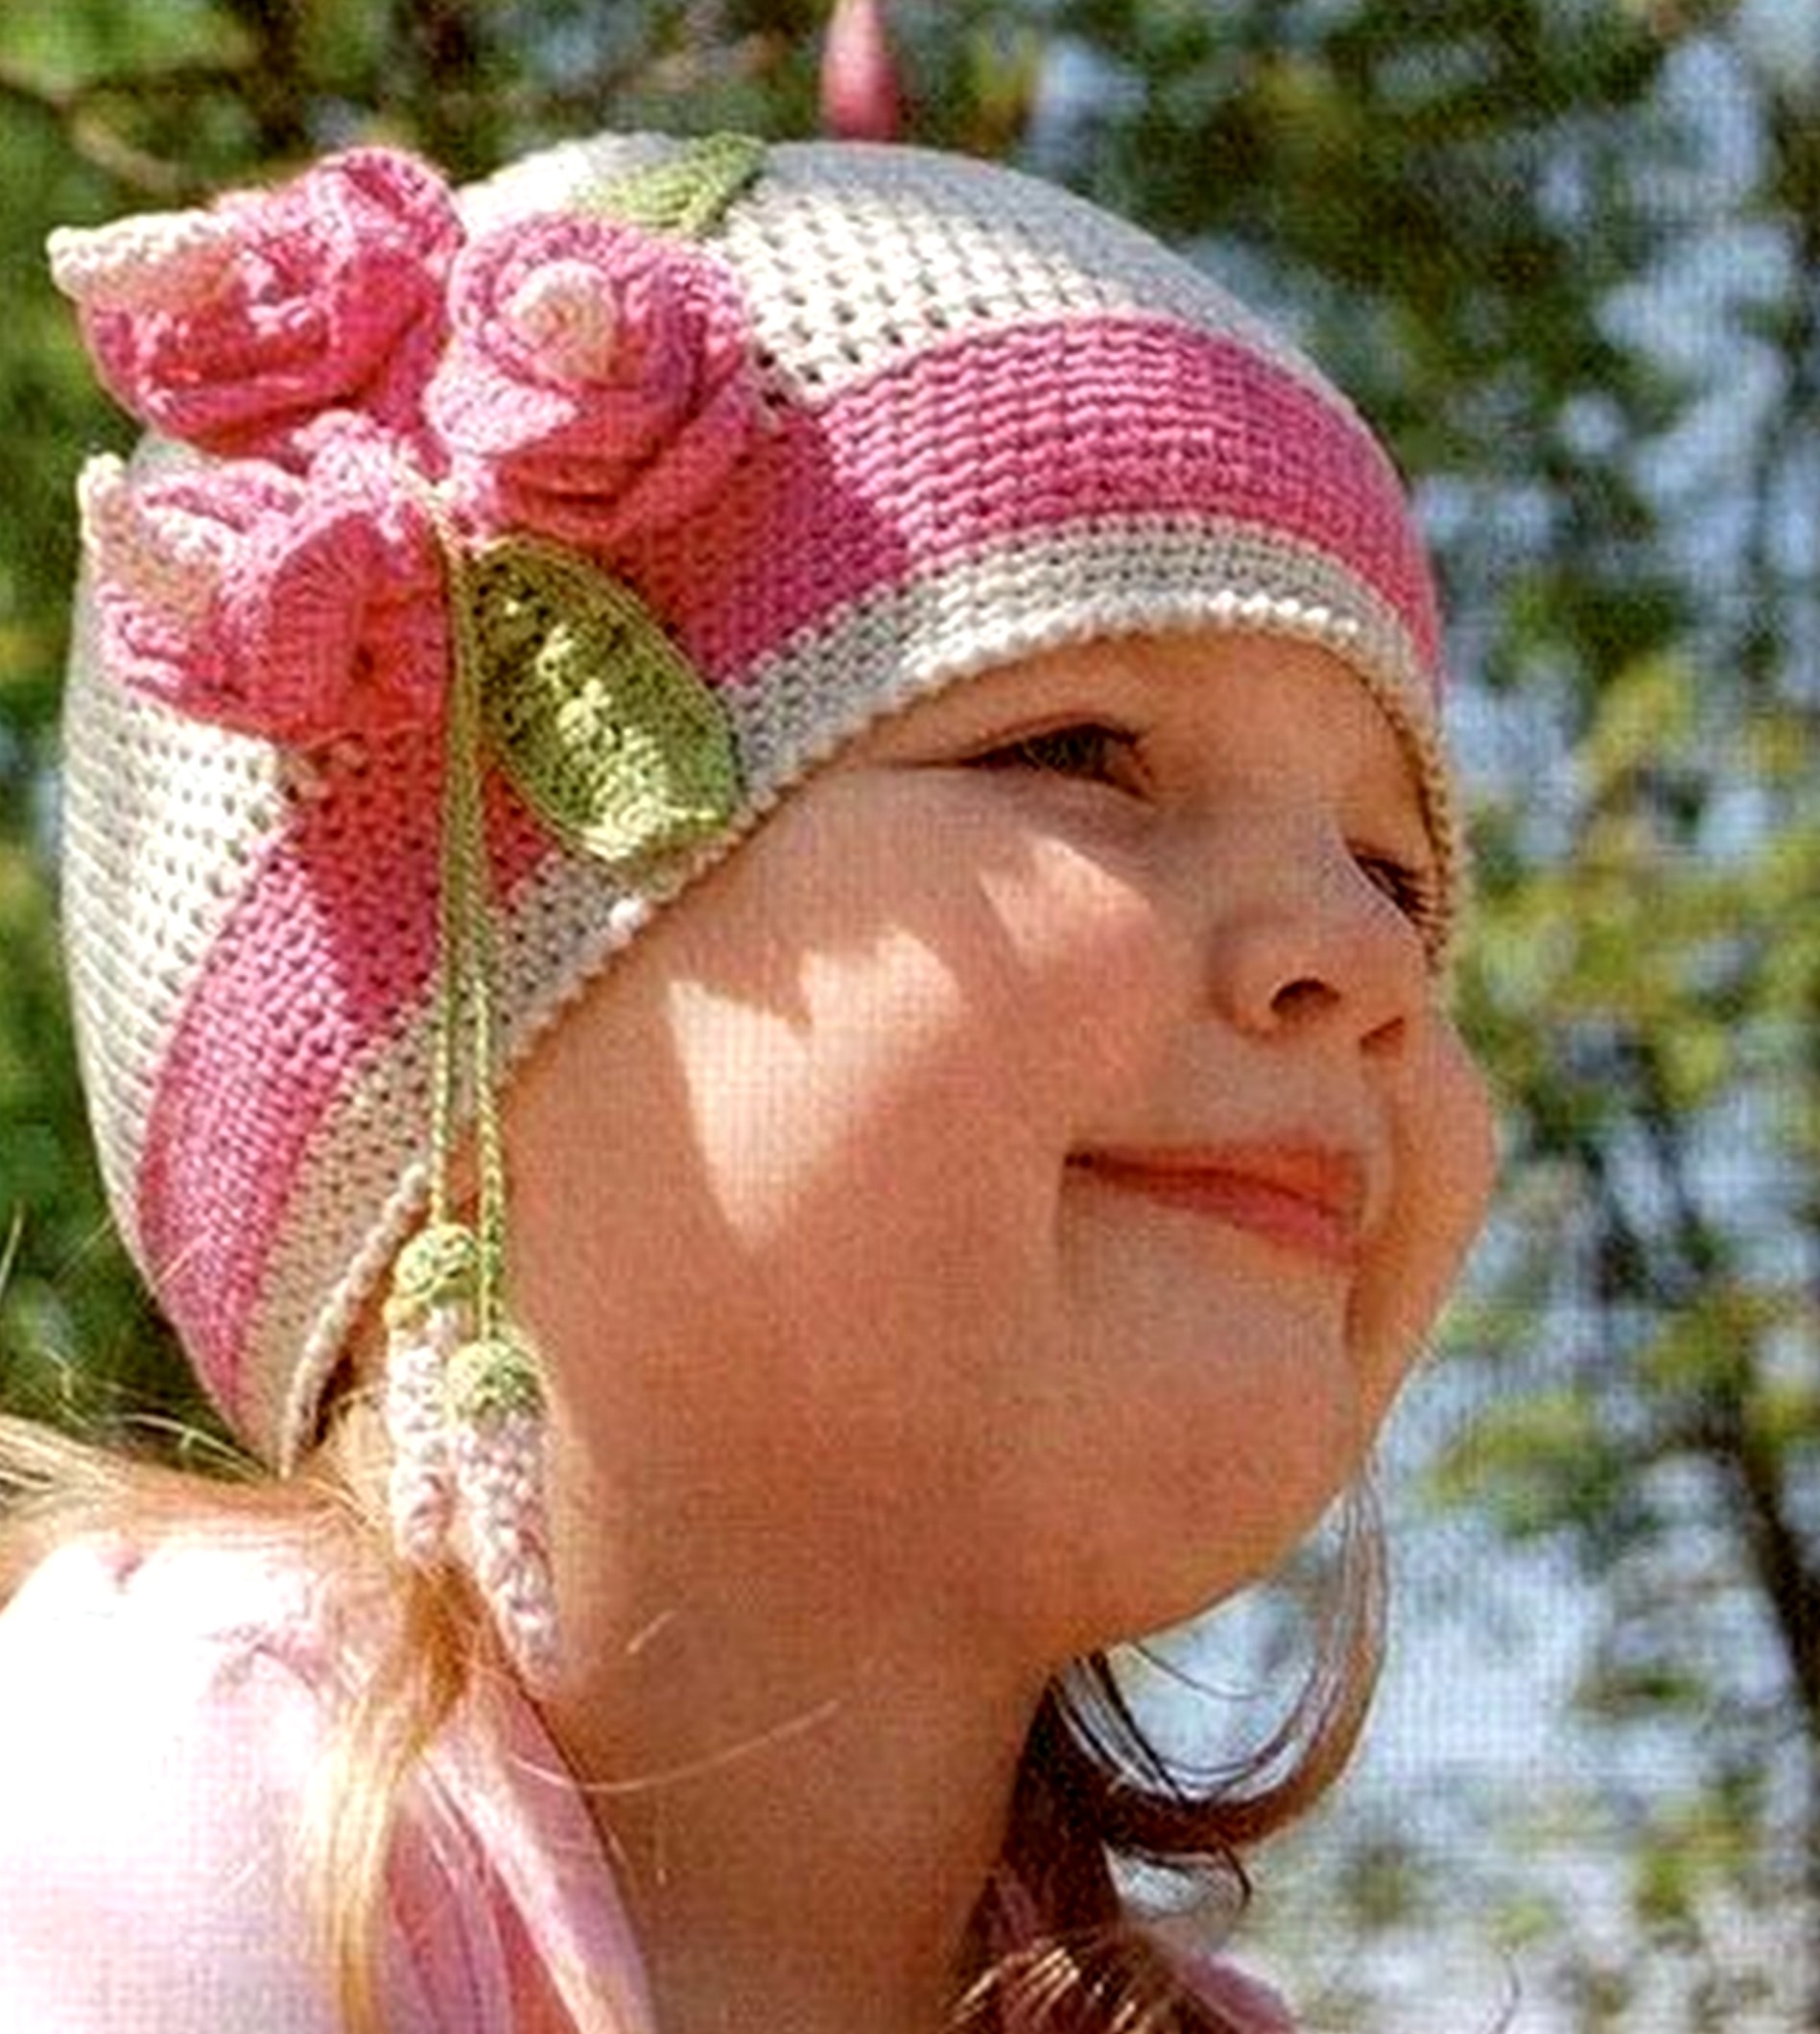
The Magnolia Hat is a graceful and feminine crochet design inspired by spring magnolia blossoms. Its subtle gray base is accented with vivid pink and green, creating a fresh, floral look. The hat features a rounded crown, a soft textured band, and hand-crocheted magnolia flowers and leaves for decoration. Light, comfortable, and full of charm — it’s perfect for cool spring or autumn days.
Size: Head circumference – 50 cm
You will need:
- Schachenmayr Catania light gray – 75 g
- Mondial Eco Chic rich pink – 30 g
- Mondial Cable 5 green – 10 g
- Crochet hooks: 2.5 mm and 1.25 mm
Flowers and Leaves:
Crochet following the given diagrams (flower and leaf charts).

Hat:
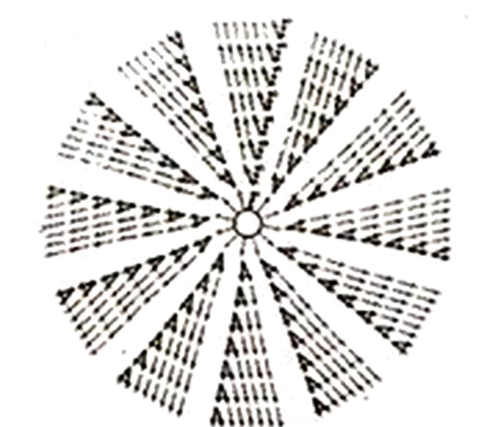
- Crown (Top):
Chain 5 stitches, join into a ring.
Crochet following the crown chart, increasing at the first stitch of each wedge.
The increases will create asymmetrical wedges curving slightly to the right, with a visible increase line between sections. Continue working in this manner until the crown diameter reaches about 15 cm. - Body of the Hat:
Continue working in double crochet (dc) without increases until the hat measures 8 cm straight down from the crown. - Pink Border:
Switch to bright pink yarn and work in single crochet (sc) for a 3 cm band. - Final Edging:
Change back to main (gray) color and crochet 1.5 cm of single crochet (sc).
Finish with 1 round of reverse single crochet (“crab stitch”) for a neat edge.
Finishing:
- Crochet the flowers and leaves following their respective charts.
- For each flower, crochet the petal strip, roll it into a flower shape, and secure with a needle and thread.
- Buds: Chain 20 stitches, work 1 row of sc and 1 row of dc. Roll into a bud shape and sew in place.
- Arrange the flowers, buds, and leaves on one side of the hat, then sew them on invisibly using small stitches.
A beautifully detailed crochet hat with hand-made magnolia blossoms — romantic, light, and stylish. The Magnolia Hat combines natural tones and soft textures to create a timeless accessory that pairs perfectly with spring outfits or cozy cardigans.

El Gorro Magnolia es un diseño delicado y femenino inspirado en las flores de magnolia. Su base gris claro se combina con tonos vivos de rosa y verde, creando un aspecto fresco y primaveral. El gorro presenta una parte superior redondeada, una banda suave texturizada y flores y hojas de magnolia tejidas a mano como decoración. Ligero, cómodo y lleno de encanto, es perfecto para los días frescos de primavera u otoño.
Patrón: Gorro Magnolia
Talla: Circunferencia de cabeza – 50 cm
Materiales necesarios:
- Schachenmayr Catania color gris claro – 75 g
- Mondial Eco Chic color rosa intenso – 30 g
- Mondial Cable 5 color verde – 10 g
- Ganchillos: 2,5 mm y 1,25 mm
Flores y hojas:
Teje las flores y las hojas siguiendo los diagramas indicados (esquemas de flor y hoja).
Gorro:
- Parte superior (corona):
Haz una cadena de 5 puntos y ciérrala en un anillo.
Teje siguiendo el diagrama de la corona, haciendo los aumentos en el primer punto de cada gajo o sección.
Los aumentos formarán gajos asimétricos que se curvan ligeramente hacia la derecha, con una línea de aumento visible entre ellos. Continúa tejiendo de esta forma hasta que el diámetro de la corona sea de aproximadamente 15 cm. - Cuerpo del gorro:
Continúa tejiendo en punto alto (pa) sin aumentos hasta alcanzar 8 cm de largo desde la parte superior. - Borde rosa:
Cambia al hilo rosa intenso y teje en punto bajo (pb) para formar una banda de 3 cm de altura. - Borde final:
Vuelve al color base gris y teje 1,5 cm en punto bajo.
Finaliza con 1 vuelta de punto cangrejo (punto bajo tejido hacia atrás) para un acabado limpio y firme.
Acabado:
- Flores y hojas:
Teje las flores y las hojas según los diagramas. - Para cada flor, teje la tira de pétalos, enróllala formando la flor y asegúrala con aguja e hilo.
- Capullos: haz una cadena de 20 puntos, teje 1 hilera de punto bajo y 1 hilera de punto alto. Enrolla la tira formando el capullo y cóselo para fijarlo.
- Coloca las flores, capullos y hojas en un lado del gorro y cóselo todo con puntadas invisibles.
Resultado final:
Un gorro de crochet bellamente decorado con flores de magnolia tejidas a mano — romántico, ligero y elegante. El Gorro Magnolia combina tonos naturales y texturas suaves, creando un accesorio atemporal que complementa tanto atuendos primaverales como conjuntos otoñales.
Шапочка «Магнолия» — нежная и женственная модель, вдохновлённая красотой цветущих магнолий. Основа светло-серого цвета сочетается с ярко-розовыми и зелёными акцентами, создавая свежий, весенний образ. Верх шапочки плавно закругляется, окантовка выполнена в контрастном цвете, а украшением служат связанные крючком цветы и листья магнолии. Лёгкая, удобная и изящная — она прекрасно подойдёт для прохладных весенних или осенних дней.
Модель: Шапочка «Магнолия»
Размер: обхват головы — 50 см
Вам потребуется:
- Schachenmayr Catania светло-серого цвета — 75 г
- Mondial Eco Chic насыщенно-розового цвета — 30 г
- Mondial Cable 5 зелёного цвета — 10 г
- Крючки №2,5 и №1,25
Цветы и листья:
Вязать по прилагаемым схемам (схемы цветка и листа).
Описание работы:
- Донышко (верх шапочки):
Связать цепочку из 5 воздушных петель, замкнуть в кольцо.
Вязать по схеме донышка, выполняя прибавления в первом столбике каждого клина.
В результате образуются асимметричные клинья, слегка закругляющиеся вправо, с выраженной линией прибавлений между ними. Продолжать вязание до тех пор, пока диаметр донышка не достигнет примерно 15 см. - Основная часть шапочки:
Далее вязать столбиками с накидом без прибавлений до высоты 8 см от центра. - Окантовка розового цвета:
Перейти на ярко-розовую пряжу и вязать столбиками без накида высотой 3 см. - Финишный край:
Вернуться к основной серой пряже и провязать ещё 1,5 см столбиками без накида.
Завершить вязание 1 рядом «рачьего шага» (столбики без накида, выполняемые в обратном направлении).
Сборка и оформление:
- Цветы и листья:
Связать элементы по схемам. - Для каждого цветка свернуть связанную полоску по схеме, сформировать бутон и закрепить иглой.
- Бутончики: связать цепочку из 20 воздушных петель, провязать 1 ряд столбиков без накида и 1 ряд столбиков с накидом. Свернуть полоску в бутон и закрепить иглой.
- Разместить готовые цветы, бутоны и листья на одной стороне шапочки и пришить потайным швом.