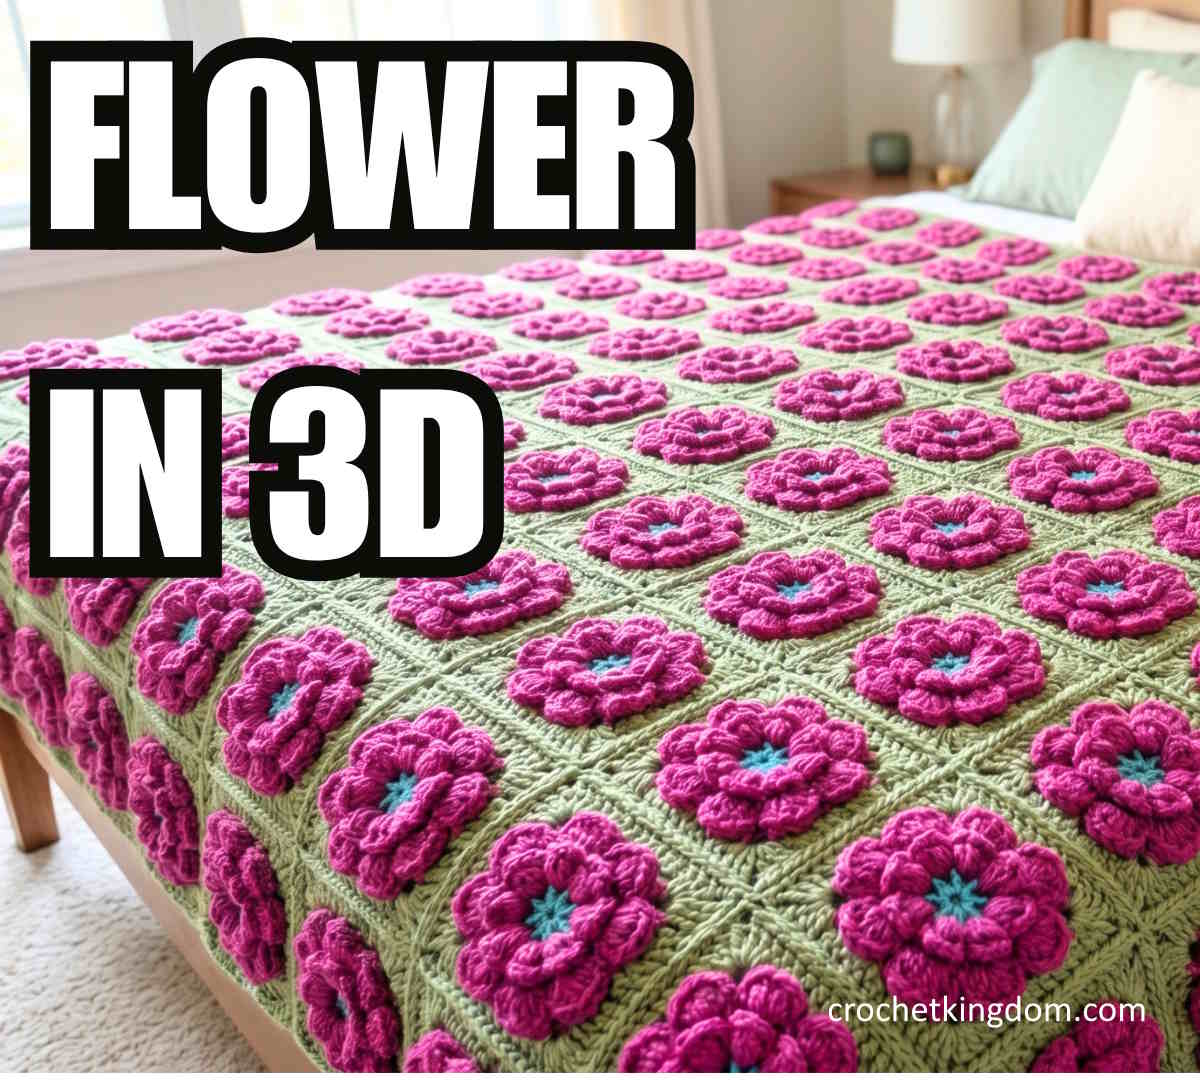
If you love textured crochet and floral granny squares, this 3D crochet granny square pattern is a beautiful project to try. Unlike traditional flat granny squares, this design builds layer by layer, creating a dimensional flower effect that really stands out.
This square is perfect for blankets, cushions, bags, and wearable crochet projects. In this tutorial, I’ll walk you through the pattern step by step, and you can also follow along with my full video tutorial below.
Watch the full video tutorial here:
Materials Needed
- Yarn in 3 colors
- Crochet hook (use the hook size that matches your yarn)
- Scissors
Crochet Abbreviations
- ch = chain
- sl st = slip stitch
- sc = single crochet
- hdc = half double crochet
- dc = double crochet
- sp = space
3D Crochet Granny Square Pattern
Round 1 – Center Ring
Chain 6 and join with a slip stitch to form a ring.
Ch 3 (counts as first dc), then work:
(2 dc, ch 2) into the ring.
Repeat 8 times total.
Join with a slip stitch to the top of beginning ch-3.
You should have 8 ch-2 spaces.
Round 2 – First Petal Layer
Join new color in any ch-2 space.
In each ch-2 space work:
(sc, hdc, 3 dc, hdc, sc)
Repeat in each space around to create 8 petals.
Slip stitch between petals to join.
Round 3 – Second Petal Layer
Chain 3.
Into each chain space between petals work:
(sc, hdc, 4 dc, hdc, sc)
Repeat around to create the second layer of petals.
Chain 4 between petals.
Slip stitch to join.
Round 4 – Third Petal Layer
Into each ch-4 space work:
(sc, hdc, 7 dc, hdc, sc)
Repeat around for all 8 petals.
Chain 4 between petals.
Slip stitch to join.
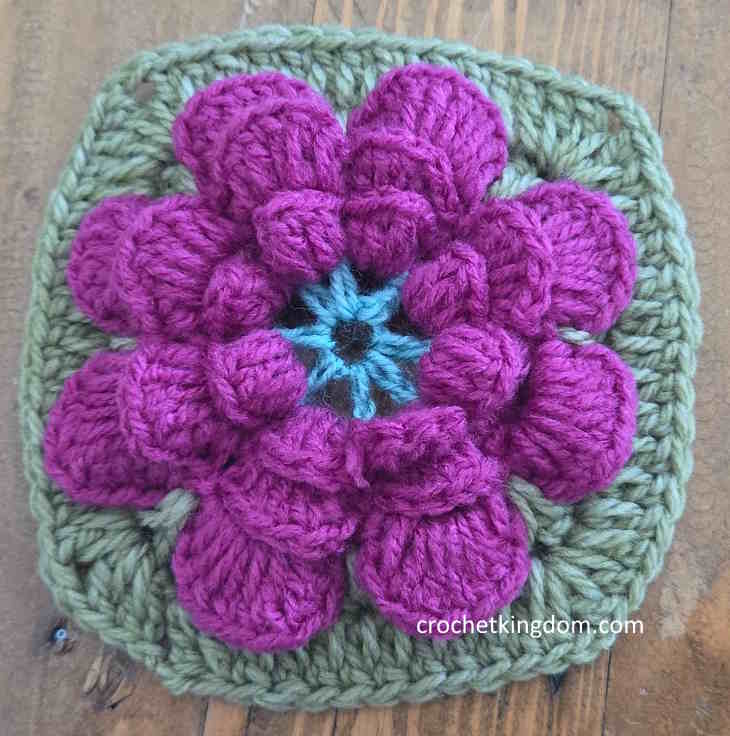
At this stage your flower should have a full 3D layered look.
Round 5 – Squaring the Flower
Join new color in between two petals.
Ch 3 (counts as first dc).
Work 4 dc into the ch-4 space.
Dc in between petals.
Work 4 dc into next ch-4 space.
At the next petal join (corner), work:
(dc, ch 2, dc)
Repeat this sequence around to begin forming your square shape.
Join with slip stitch.
Round 6 – Final Square Round
Ch 3 (counts as first dc).
Work dc in each stitch across.
In each corner work:
(2 dc, ch 2, 2 dc)
Continue around.
Join and fasten off.
Tips for Making Your 3D Granny Square
- Use contrasting colors to make the flower layers stand out.
- Keep your tension even so the petals sit nicely.
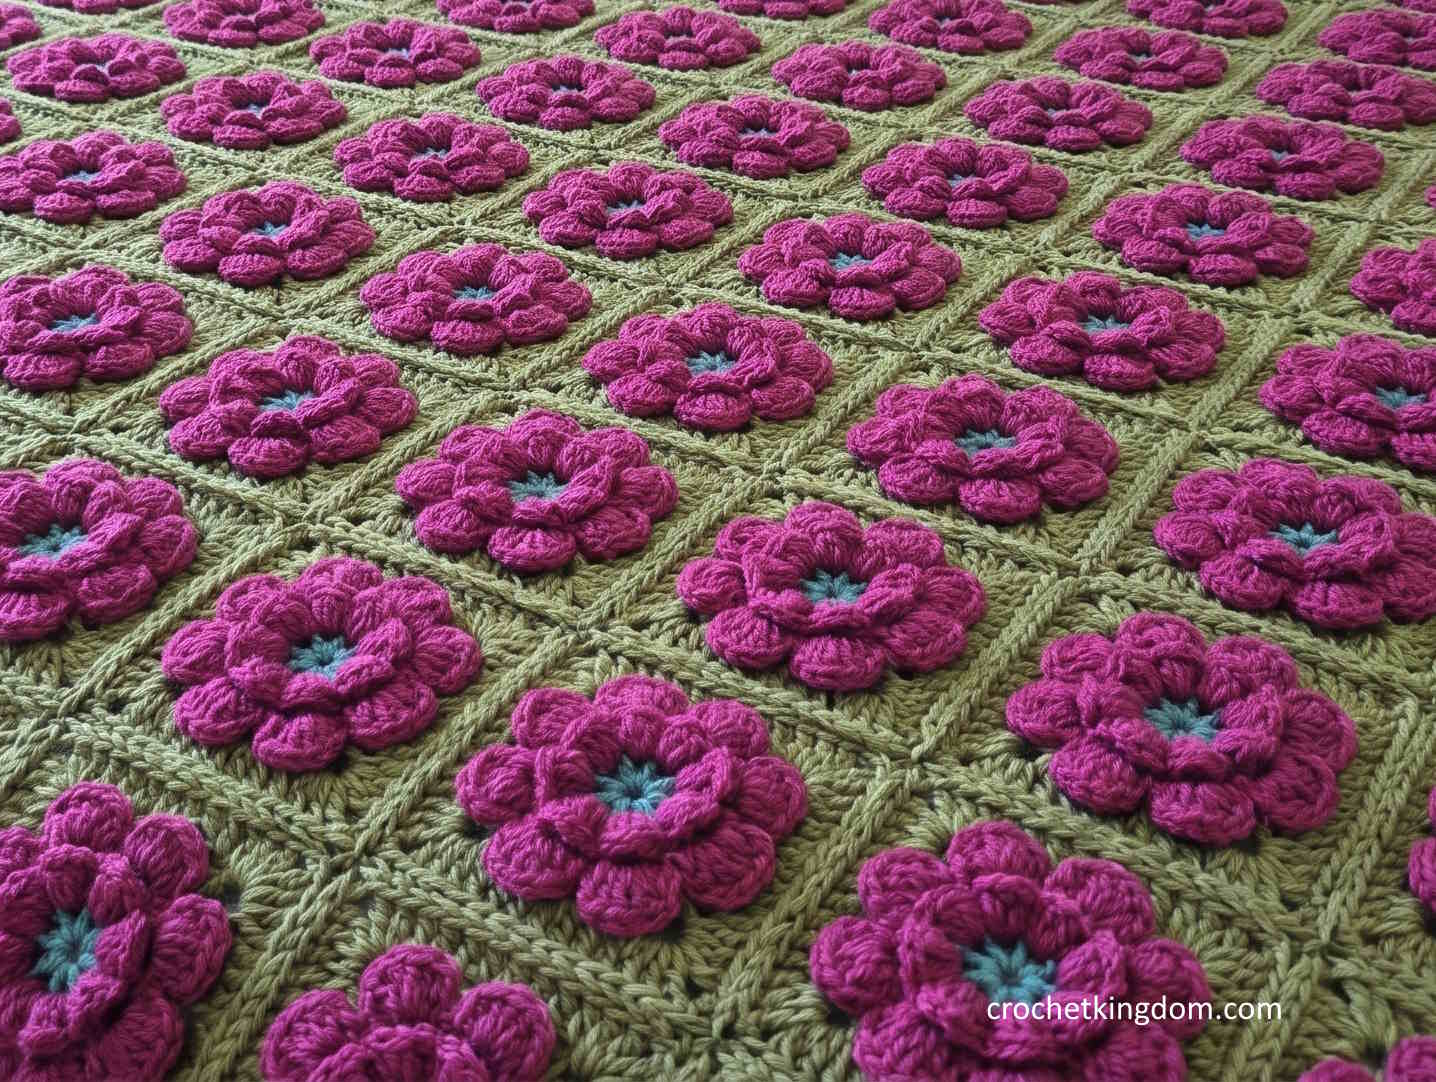
- Blocking can help shape your finished square.
- These squares look amazing joined together for blankets and cushion covers.
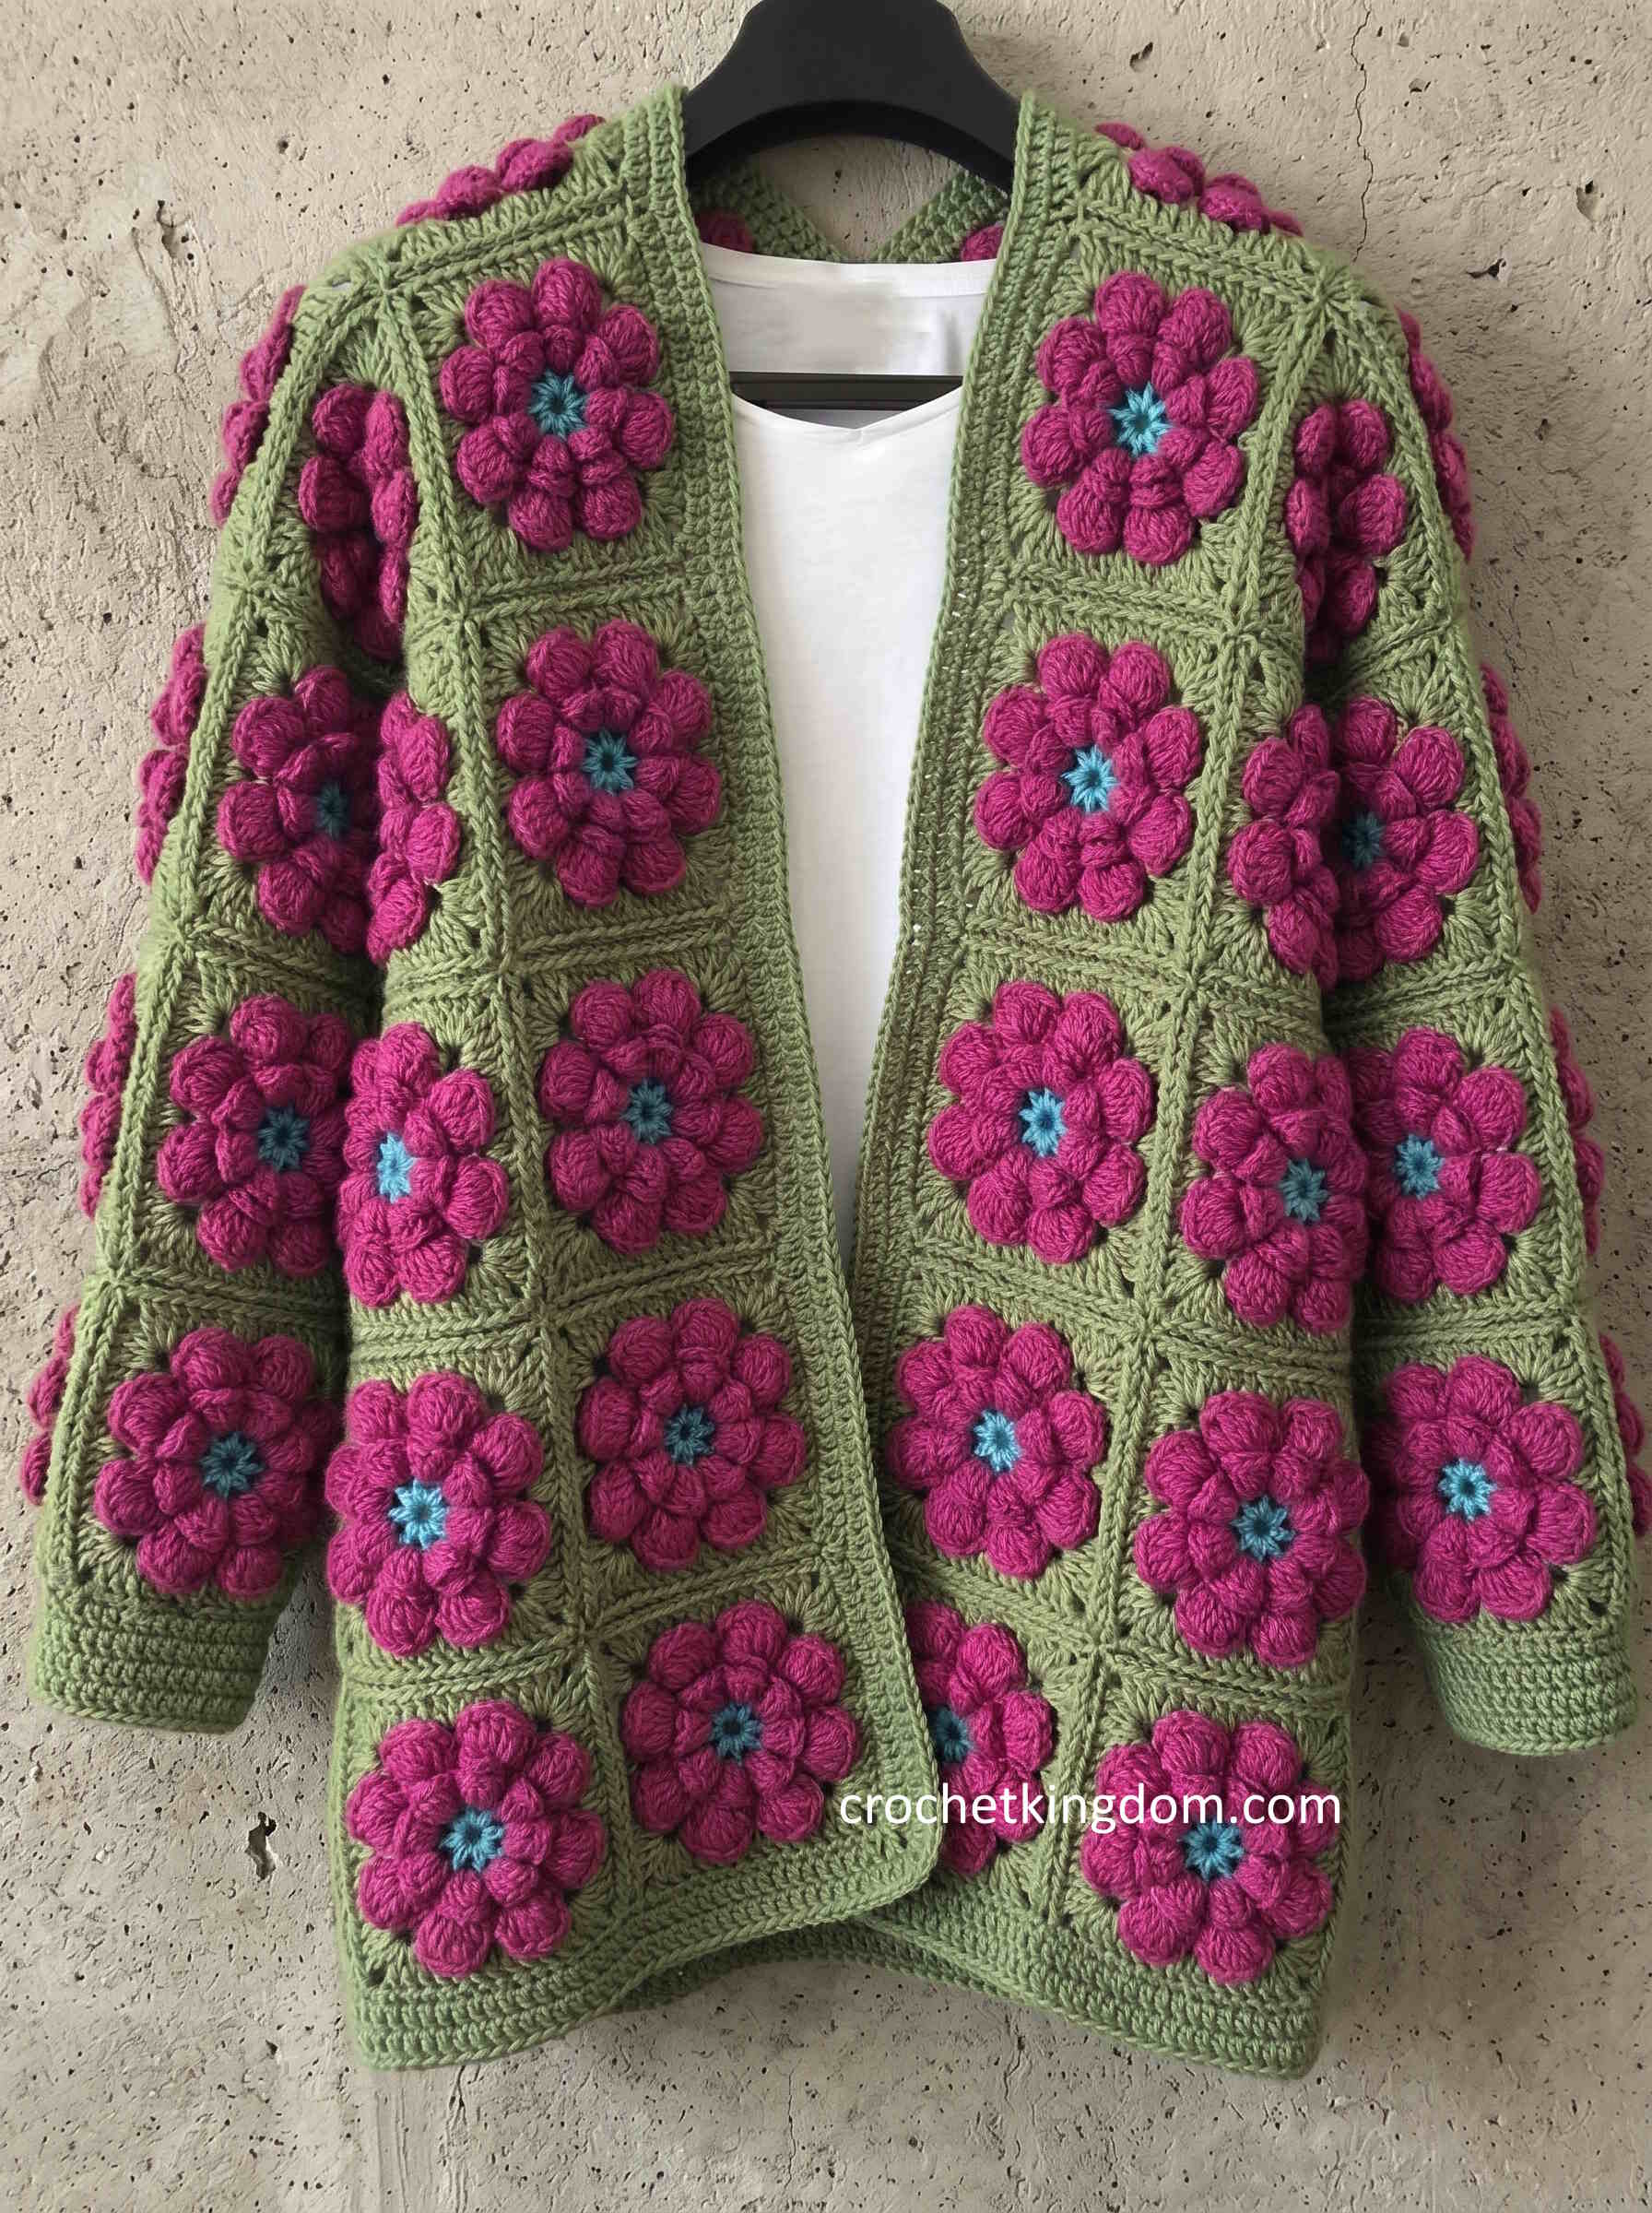
What Can You Make With This Granny Square?
This textured crochet granny square can be used for:
- Crochet blankets
- Pillow covers
- Tote bags
- Cardigans
- Table runners
- Wall hangings
The raised flower design adds so much texture and dimension, making it a unique addition to any crochet project.
If you make this square, I’d love to see your version.